
Your Guide to Freeing up Macbook’s Hard Drive Space
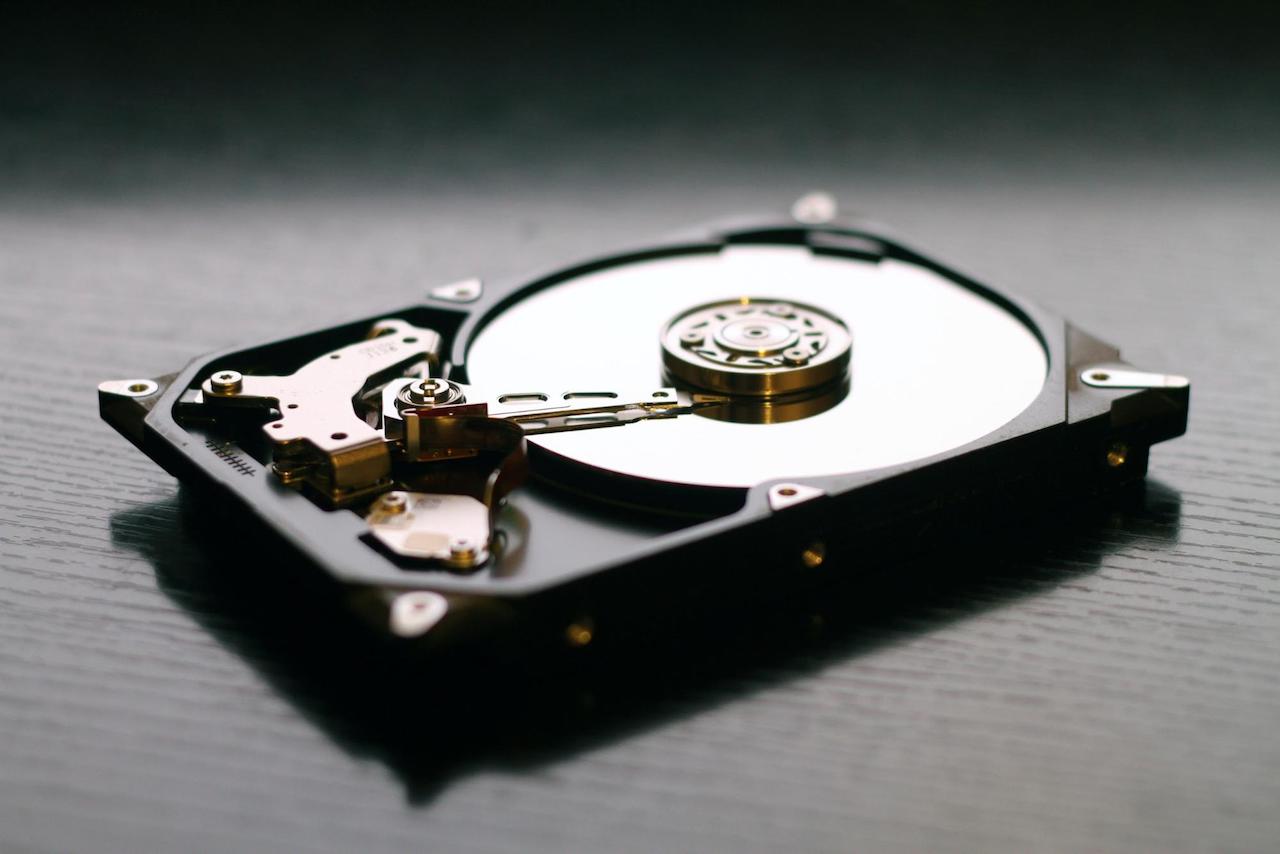
Only a few gigabytes left on your Macbook’s hard drive will spell trouble. Do not end up in such a situation if you help it. Otherwise, you will experience computer performance problems.
Despite all the advantages, Macbooks are not the best choice when it comes to available storage space. If you are in the habit of hoarding files or are not aware of how to manage computer data properly, look no further than this article.
Take the steps mentioned below, and you should not have problems with Macbook storage. Also, take note that this should not be just a one-time thing but rather a turn into a maintenance strategy that will keep the Macbook’s hard drive in check.
Step #1 – Get Rid of Temporary Junk Data
Starting with temporary junk files like app extensions, plugins, and system backups is a good approach. You need to clean up this type of data regularly. Otherwise, it will continue to accumulate and cause you problems.
It is not just the hard drive space that temporary data takes. The sheer number of files puts a toll on the computer system that has to process files.
If you do not want to remove temporary junk manually, get a cleanup utility tool. Available software will do the work for you. Install it, launch the app, and select the file types you want to delete from the Macbook.
Step #2 – Check the List of Installed Applications
Applications you have not used for a while may be taking more space than you expect. Besides temporary caches and plugins that they create over time, some apps also come with language pack support files that are redundant for the most part.
Add these to the space requirements of the apps themselves, and you have a clear problem. The solution should be clear – removing apps you no longer need. After all, in case something comes up, and you need to install an app again, downloading it later should not be an issue.
Step #3 – Memorize How to Remove Files Permanently

Do not think that dragging files in Trash Bin is the same as removing them from the Macbook for good. No, you need to empty the Trash Bin each time you put a file in it. Or, at the very least, enable the feature that deletes Trash Bin’s data automatically after 30 days.
You could also take a different approach. Instead of bothering with the Trash Bin, why not use a keyboard shortcut that removes files permanently. Select a file you want to delete, hit Option + Command + Delete and confirm the pop-up that appears.
Step #4 – Keep Tabs on Email Attachments and Downloads
The simplest way to deal with email attachments and downloads is to change their default directory. If you make the Macbook’s desktop the location for downloads and email attachments, you will have an easier time noticing and removing these files from the computer.
Step #5 – Subscribe to Streaming Platforms

Are large media files one of the biggest problems for your Macbook storage? If so, why not take advantage of the available streaming services? Platforms like Spotify, Netflix, Disney+, and Hulu provide opportunities to consume favorite media without hoarding large files on the computer.
Streaming services may cost money, but they are convenient to use, not to mention what it does for the well-being of the Macbook’s drive. Once you start, you will not bother coming back to the old method of keeping files on the computer.
Step #6 – Transfer Data to Cloud Services
Your data management strategy does not have to revolve around deleting files. No, there are alternatives.
Cloud services are one of the best examples. Dropbox and iCloud provide you with a few gigabytes of free storage with an option to upgrade to a better plan. While there is a monthly fee, it is difficult to find a service as reliable as clouds when it comes to storing data.
Moreover, you can sync your cloud accounts with multiple devices and access files from more than just your Macbook. Your iPhone and iPad will work as well, provided that you have an internet connection, and the account is synced with the device.
Step #7 – Get Yourself External Storage Devices
External hard drives and memory sticks are similar to cloud services. The difference is that you will need to get a physical product rather than rely on digital services.
Nevertheless, some people prefer to stick to external storage devices and create data backups or store their files on these devices.
While it is recommended to buy a brand-new device for personal use, you do not need to spend that much money and consider purchasing a second-hand memory stick or a hard drive. Or, if you are on a tight budget, why not wait for the holiday season when computer hardware and accessories go on sale and save money this way?
About The Author

Related Blog
View All-

Future of IOS App Development- Five Years down the Line!
Venturing into your first mobile app development project can be a frustrating proposition especially if you fail to give proper attention in selecting an operating system- And it's one that can have long-lasting ramifications. Looking at the current mobile ...
-

5 Best Free Casino and Card Games for iOS
Free casino games are an enjoyable experience, as you can experience all the thrills of casino gaming, without any of the risk of losing any real money. Of course, there are hundreds of apps covering all types of casino games, so in this article we’re going ...


